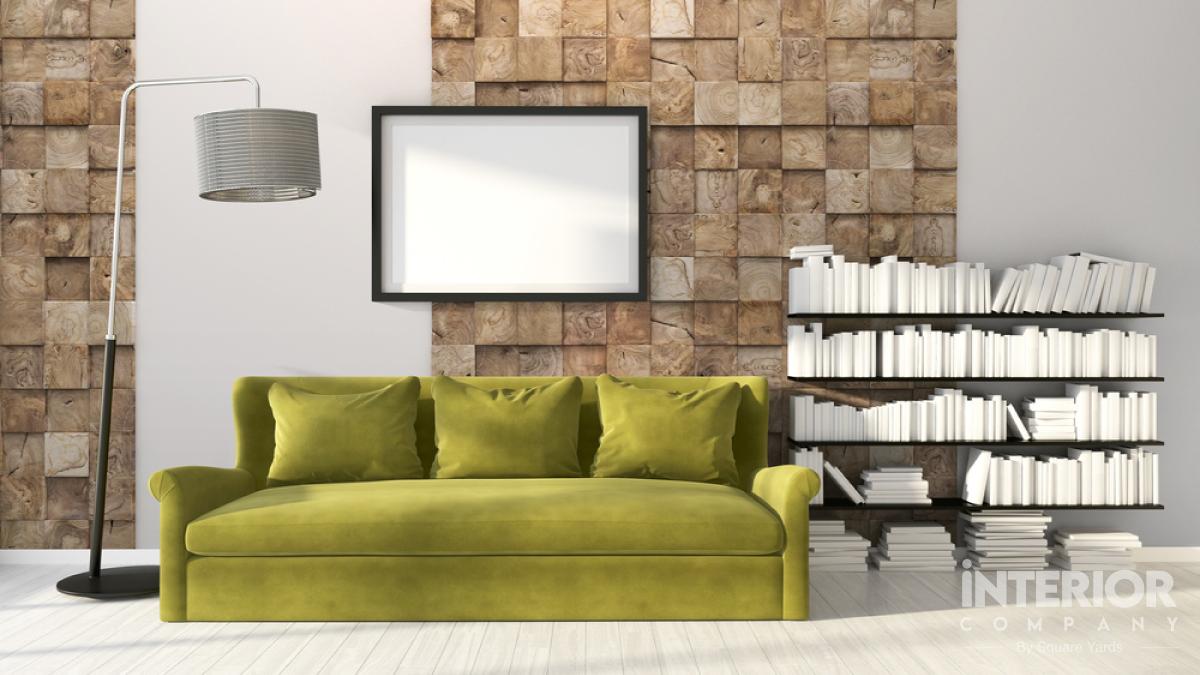
In this article, you will learn the 5 basic steps to help you build an enchanting gallery wall in your home.
5 Steps to Creating a Beautiful Gallery Wall in Your Home
Gallery walls are personal; therefore, you should take your time visualising what you want them to display. Once the visualisation is complete, the actual work commences. Follow these 5 steps and design tips to create a seamless flow on your gallery wall.
1. Assess Your Collection
To begin decorating your chosen wall, you need artwork. Most families already house a diverse collection of ancestral photographs of friends and family or artwork of varying kinds. Many people choose to frame exquisite, rare fabrics and put them on display; others like to share their collection of pages from comic books that have gone out of print. The idea is to review the material you already own and buy artwork that is missing. This is the stage to pick everything you would need to make your visualisation of the gallery wall a reality.
As an active habit, to populate your gallery wall in creative ways, you can start collecting random items like postcards, wall hanging charms and even dreamcatchers that you can design on this wall.
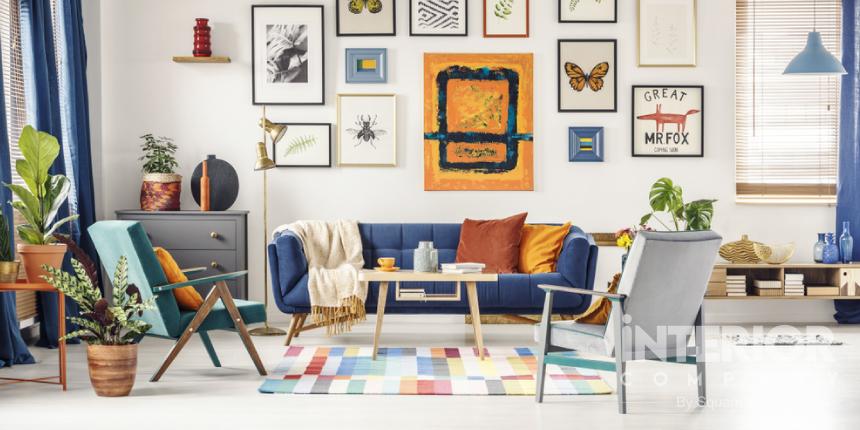
Here is a highly recommended list of items you can start collecting to curate an amazing gallery wall:
- Photographs from overseas travel
- Postcards sent you by your near and dear ones
- Decorative, ornamental plates
- Cultural totems like masks, dreamcatchers or beads
- Fossil-like impressions of leaves and flowers on mixed media (plaster of Paris, ceramics or art clay)
- Artwork created by members of the family, like children’s drawings, paintings or greeting cards
- Blueprints of the home drawn in hand and coloured over with washed paint
- Impactful photographs with bold, contrasting colours
- Portraits of all the family members
- Pet photographs and memorabilia
2. Pick a Theme for Your Gallery Wall
Any interior looks better with a pattern or underlying cohesive element that ties everything together. This helps to create a better visual appeal and keeps things tidy. Though there is a charm in randomness, it works best to have a theme to stick to for a gallery wall. For example, you could go grayscale and select monochrome photographs to frame and put up on an accent wall to create attractive contrast styles.
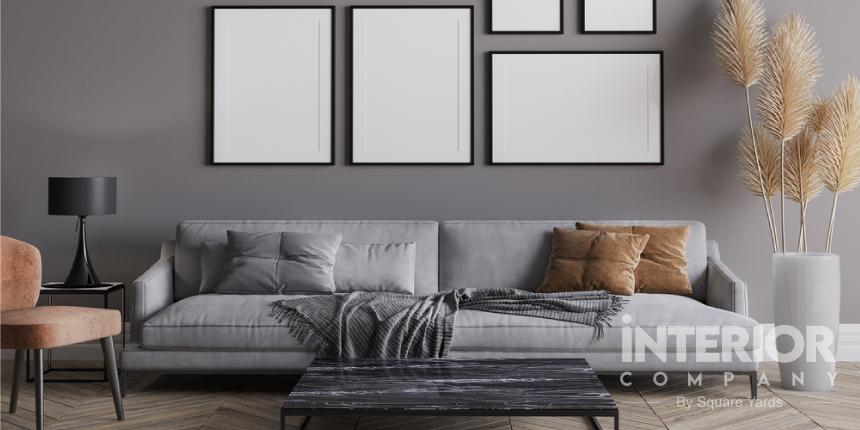
The theme underscores every element that adorns a wall, and it defines the undertones that set the mood of the entire space that the wall covers. It is best to be highly selective of themes.
Below is a list of coveted gallery wall themes that most famous homes feature –
- Botanical themes that feature delicate, tendrils artwork pertaining to plant life. These themes work best in low-circulation areas (like meditative spaces or sunrooms) as they emanate a sense of calm.
- Family themes, like beach holiday photos or festival photos, artwork by family members, letters from displaced family or handwritten notes by ancestors are great items to highlight the filial values of your home.
- Monochrome is a great theme that is becoming exceedingly popular because of its high-contrast and blunt nature. It requires a bit of work to put together cohesive monochrome artwork that looks good.
3. Get Measuring
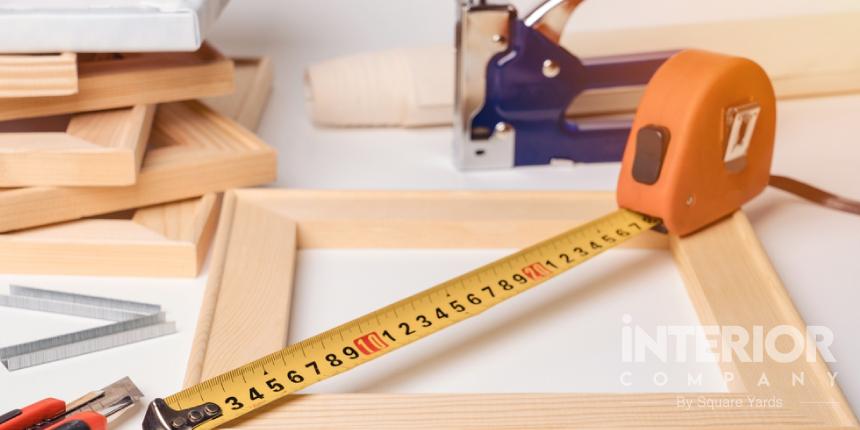
One of the most mundane activities to do while creating a gallery wall is measuring everything – You would need to size up the following items to create a gallery wall with a high awe-factor –
- The wall itself
- The frame size of every piece of artwork
- Optimal spacing to leave blanks between artwork on the wall
- Blank height over the skirting
- Blank drop below the ceiling
- Edge margins
- Placement of each artwork and its measurement from the nearest absolute edge
- Artwork string/peg hole measurement for its frame
- Placement markers for drilling nails or sticking pegs to the wall
Overall, the strain is in the details. The more accurate your measurements – the more visually perfect will your gallery wall be.
Here are some tips to help you get down all the measurements –
- Request the help of a companion. While you do all the measuring, someone should be able to write the numbers down immediately, guide you regarding the accuracy of the measurement or edge straightness, support you as you climb atop higher surfaces for better reach and provide other forms of assistance.
- Get a laser guide. Today, laser guides are extremely popular implements that help get the edges straight while measuring walls. These are small devices you place on the floor in front of the wall, and straight laser beams shine on the wall providing you with a guiding edge to work with.
4. Ready Your Artwork
When measurements are completed and jotted down; it is now time to frame the precious artwork and drill the holes. This process is time-consuming because it requires care and a delicate hand to handle precious items and hang them on the wall.
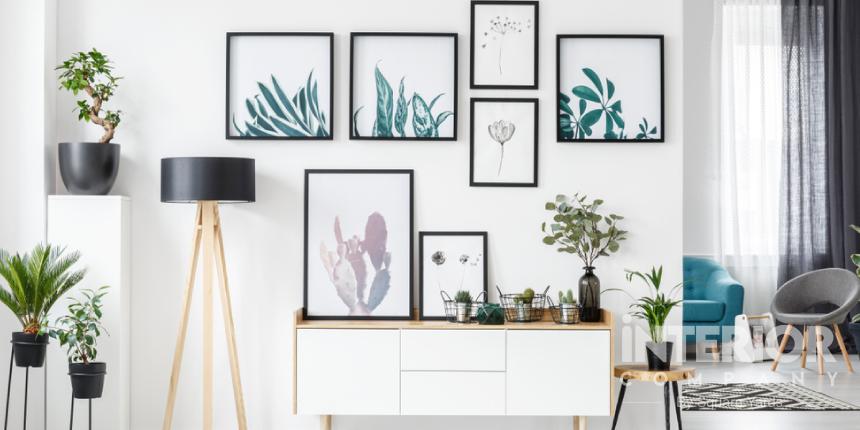
This step also involves aggressive decision making regarding the kind of frames to use, their colours, whether or not they fit well with the theme you had in mind and many such additional considerations. For example, neutral-toned wooden frames look best on grey walls for a clean, modern look. On the other hand, you may want to go for bold, black frames to create a visual impact on a colour-pop wall.
Here are a few tips to help you ready your artwork –
- As soon as you start your measurements, begin inserting the artwork into its respective frames to save time. You can work with post-it notes to label everything corresponding to the spot on the wall where it needs to be hung.
- While selecting colours for the frame, you can consider consulting with an interior designer for great combinations. You can even go to an artist or a designer with a good eye for colour to help you compose great colours on your gallery wall.
- You can breathe new life into something old by recycling ancient picture frames or finding old artwork to fit into new frames to make an attractive visual impact.
5. Hang the Artwork
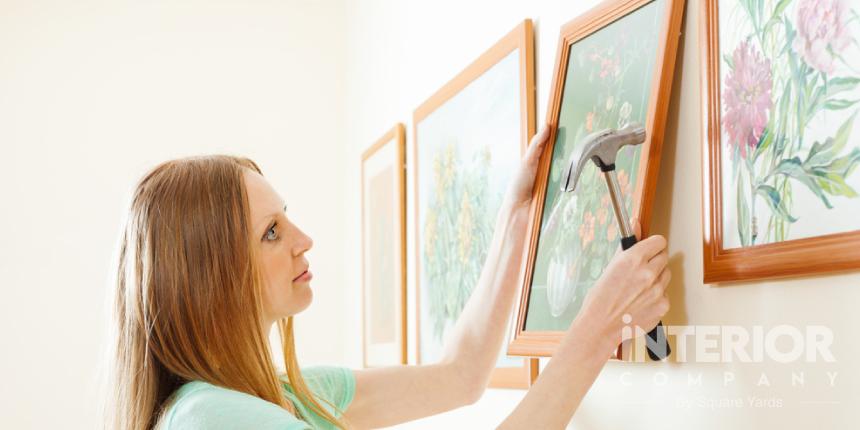
The last step in creating the perfect gallery wall is hanging up your artwork the way you initially visualised it. The process also involves finally grabbing that drilling machine and creating holes for the nails or pegs that would hold your artwork in place. This should not be exceedingly difficult if you had the measurements done correctly in the preceding steps.
After securing the nails or pegs neatly, begin hanging your artwork according to its designated spot. If possible, ask a companion to help you hang the frames with all the edges straight (doing both the tasks yourself would take more time and effort).
Below are a few tips to help you hang your artwork more efficiently –
- Get a friend or someone from your family to help pass the picture frames to you as you navigate the ladder. It saves time and effort. You can also request them to help you hang the artwork with all the edges straight.
- Start at one end and finish at the other to keep things neat and organised. You can also decide to take a top-down or bottom-up approach; however, it could be time-consuming.
- Don’t hesitate to improvise if you notice certain errors in the measurements (they do tend to happen).
Wrapping up
Gallery walls create a space that captivates the attention of the viewer. Filling it with interesting photographs and items from around the world helps you curate your life experiences onto a single surface. If you need guidance in creating the perfect gallery wall for your home, visit Interior Company today.
